https://boda.su/en/posts/id415-garbage-disposal-guide-how-it-works-benefits-installation
Garbage Disposal Guide: How It Works, Benefits & Installation
Complete Guide to Garbage Disposals: Features, Pros, Cons, and Setup
Garbage Disposal Guide: How It Works, Benefits & Installation
Discover how a garbage disposal works, its advantages and drawbacks, and get step-by-step installation tips. Learn how to choose the best disposer for your kitchen.
2025-09-21T11:45:27+03:00
2025-09-21T11:45:27+03:00
2025-09-21T11:45:27+03:00
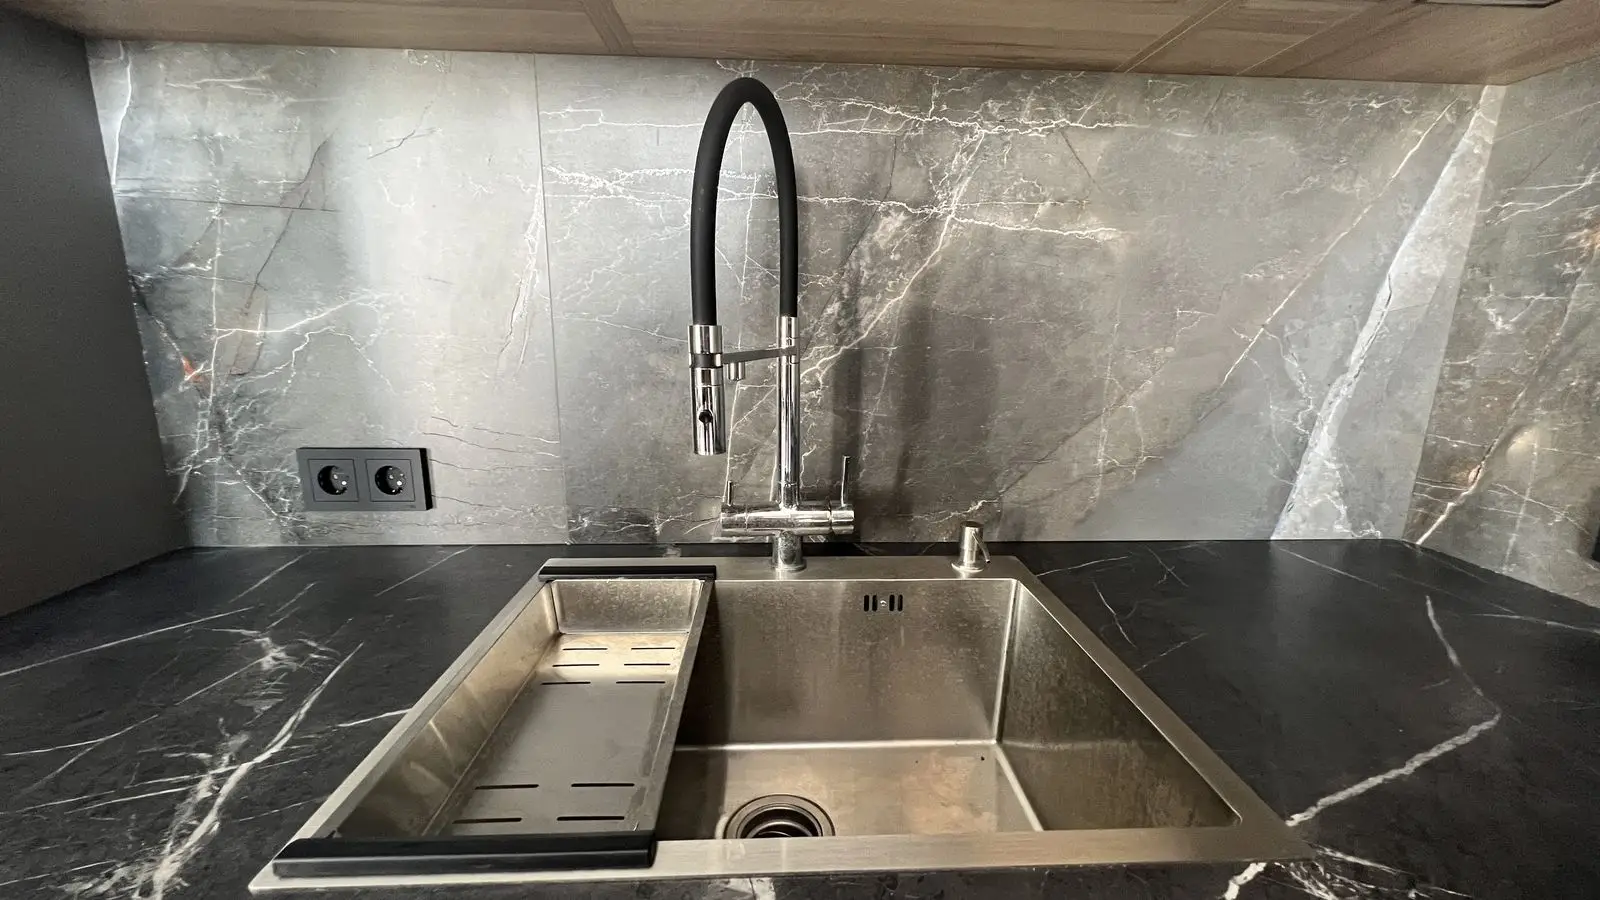
A food waste disposer, more commonly known as a garbage disposal unit, is installed beneath the sink and connected to the drain system. Its role is simple but effective: it grinds leftover food into tiny fragments that can be easily rinsed away with water. With this device, the kitchen stays cleaner and the trash bin fills up more slowly, since organic scraps no longer end up there.
How the Device Is Built
Housing: Usually crafted from stainless steel or durable plastic, it shields the internal mechanisms.
Grinding Chamber: Equipped with a spinning disk and blades that reduce food waste to fine particles.
Motor: Provides the power and speed needed for the grinding process.
Control System: Operated by a button or pneumatic switch conveniently placed on the sink.
Drain Connection: Directs the ground waste into the sewer system.
How It Works
Once food scraps enter the grinding chamber, the rotating disk and blades crush them into tiny pieces. These fragments are then flushed away with water. Modern models are designed with overload protection, ensuring safe and reliable operation.
Advantages of a Disposer
Significantly reduces household waste.
Eliminates unpleasant odors and curbs the spread of bacteria.
Lowers the chance of attracting insects or rodents.
Helps prevent clogs in the pipes.
Simple to operate — a single press is enough.
Drawbacks and Limitations
Requires proper installation and occasional maintenance.
Cannot handle bones, large hard leftovers, fat, or oil.
Consumes both water and electricity.
May generate noise during operation.
In older plumbing systems, drainage issues may arise.
Choosing the Right Model
Grinding speed and quality: Faster units process waste more efficiently and leave finer particles.
Connection requirements: Check that you have both an outlet nearby and a suitable drain system.
Controls: Pneumatic switches are considered both safe and convenient.
Housing and size: Look for corrosion-resistant materials and ensure the unit fits under your sink.
Extra features: Reverse function, self-cleaning systems, and overload protection can extend durability.
Installing a Disposer at Home
It’s possible to install the unit yourself, provided you have the necessary tools: wrenches, screwdrivers, pliers, sealant, and a bucket.
Step-by-step process:
Shut off the water supply and remove the old siphon.
Clean the drain opening.
Attach the mounting ring and secure the disposer.
Connect the drainpipe and plug in the power supply.
Check for leaks and test the device.
If there’s any doubt about the installation, it’s wiser to hire a professional. This helps avoid leaks, electrical issues, and other costly mistakes.
Garbage Disposal, Food Waste Disposer, Kitchen Appliance, Installation Guide, Pros and Cons, How It Works, Best Disposer, Grinding System, Home Plumbing, Waste Management
2025
articles
Complete Guide to Garbage Disposals: Features, Pros, Cons, and Setup
Discover how a garbage disposal works, its advantages and drawbacks, and get step-by-step installation tips. Learn how to choose the best disposer for your kitchen.
© E. Vartanyan
A food waste disposer, more commonly known as a garbage disposal unit, is installed beneath the sink and connected to the drain system. Its role is simple but effective: it grinds leftover food into tiny fragments that can be easily rinsed away with water. With this device, the kitchen stays cleaner and the trash bin fills up more slowly, since organic scraps no longer end up there.
How the Device Is Built
- Housing: Usually crafted from stainless steel or durable plastic, it shields the internal mechanisms.
- Grinding Chamber: Equipped with a spinning disk and blades that reduce food waste to fine particles.
- Motor: Provides the power and speed needed for the grinding process.
- Control System: Operated by a button or pneumatic switch conveniently placed on the sink.
- Drain Connection: Directs the ground waste into the sewer system.
How It Works
Once food scraps enter the grinding chamber, the rotating disk and blades crush them into tiny pieces. These fragments are then flushed away with water. Modern models are designed with overload protection, ensuring safe and reliable operation.
Advantages of a Disposer
- Significantly reduces household waste.
- Eliminates unpleasant odors and curbs the spread of bacteria.
- Lowers the chance of attracting insects or rodents.
- Helps prevent clogs in the pipes.
- Simple to operate — a single press is enough.
Drawbacks and Limitations
- Requires proper installation and occasional maintenance.
- Cannot handle bones, large hard leftovers, fat, or oil.
- Consumes both water and electricity.
- May generate noise during operation.
- In older plumbing systems, drainage issues may arise.
Choosing the Right Model
- Grinding speed and quality: Faster units process waste more efficiently and leave finer particles.
- Connection requirements: Check that you have both an outlet nearby and a suitable drain system.
- Controls: Pneumatic switches are considered both safe and convenient.
- Housing and size: Look for corrosion-resistant materials and ensure the unit fits under your sink.
- Extra features: Reverse function, self-cleaning systems, and overload protection can extend durability.
Installing a Disposer at Home
It’s possible to install the unit yourself, provided you have the necessary tools: wrenches, screwdrivers, pliers, sealant, and a bucket.
Step-by-step process:
- Shut off the water supply and remove the old siphon.
- Clean the drain opening.
- Attach the mounting ring and secure the disposer.
- Connect the drainpipe and plug in the power supply.
- Check for leaks and test the device.
If there’s any doubt about the installation, it’s wiser to hire a professional. This helps avoid leaks, electrical issues, and other costly mistakes.