Soundproof Your Home: A Clear, Step-by-Step Plan for Real Noise Reduction
Learn how to soundproof your home with a practical, step-by-step plan: diagnose noise, upgrade windows and doors, treat walls, floors and ventilation.

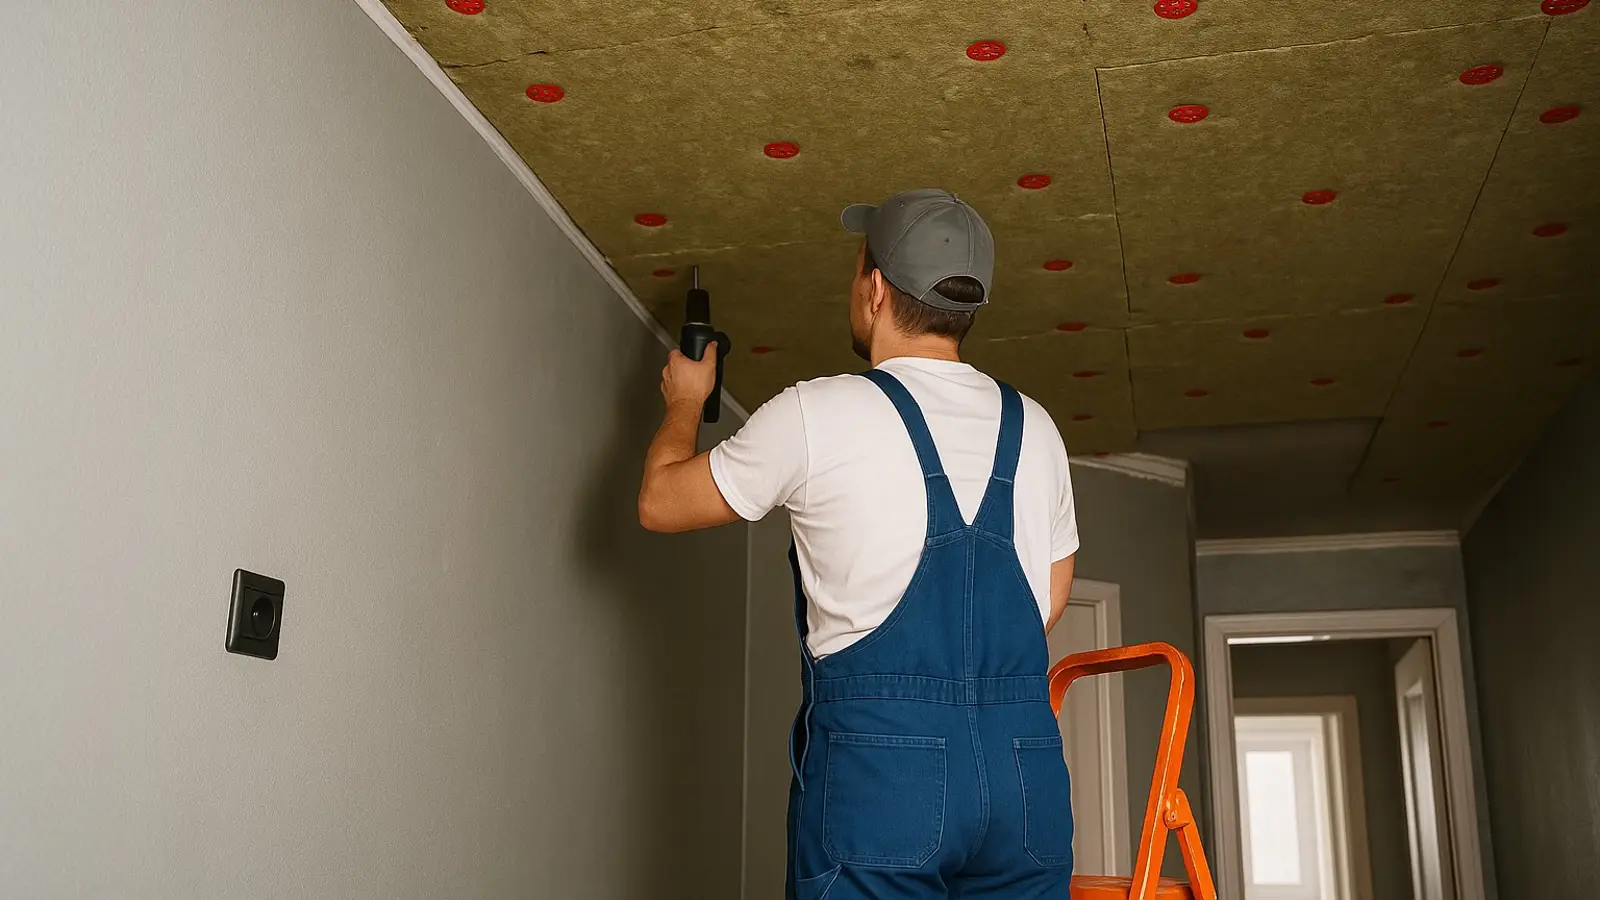
Generated by Dall-e
City hum, neighbors, appliances — noise has a way of becoming the default backdrop. But a home should still feel calm. Here’s a clear, practical roadmap to what actually works and in what order to tackle it.
The Two Kinds of Noise — and Why It Matters
There are two main categories:
- Airborne noise: voices, music, traffic outside. Solutions focus on stopping air and vibrating surfaces from carrying sound.
- Impact noise: footsteps, furniture being moved, thuds through floor slabs. Here you’re looking to tame vibration and soften contact points.
Start With a Quick Diagnosis
Walk through your place and note the loud spots: near windows and the front door, around outlets, at the ventilation grille, under the ceiling. Use a phone sound-meter app twice — daytime and nighttime.
- If levels rise and fall with street traffic, windows/facade are the suspects.
- If upstairs neighbors dominate, look to floors and ceilings.
This simple check stops you from spending blindly.
Windows: Tightness Is in the Details
Windows are often the thinnest part of the envelope. Begin with fresh seals and precise sash adjustment. Then choose one of two tracks:
- Interior secondary glazing: a second, inward-facing sash creates an air cavity that sharply cuts street noise. Ideal when you must keep historic frames or can’t replace the window.
- Laminated glass: a plastic interlayer damps vibration; in a modern insulated unit it adds a clear isolation boost. Assess the whole system — frame profile, spacer bars, the installation joint. Sound loves gaps as much as it loves thin glass.
Doors: Add Mass and Seal the Perimeter
A sturdy wall won’t help if a lightweight door leaks around the edges. The baseline kit:
- Solid-core leaf instead of hollow-core.
- Perimeter compression seals on the stops.
- Automatic drop seal to close the floor gap when the door shuts.
Also seal the frame-to-wall joint. That junction often hides the real “acoustic crack.”
Walls & Ceilings: Three Pillars — Mass, Decoupling, Damping
The working principles are straightforward:
- Mass: adding a layer of drywall/gypsum board increases stiffness and reduces transmission.
- Decoupling: resilient channels, clip systems, or a double stud frame cut direct vibration paths. Avoid rigid bridges.
- Damping: a viscoelastic compound between sheets turns part of the vibration into heat, effective across a broad frequency range.
Don’t forget airtight edges and sealed service penetrations.
Floors & Slabs: Reducing Impact Noise
Impact noise is best tackled at the source:
- Upstairs/source side: a dense rug with quality underlay, or an elastic underlayment beneath laminate/engineered wood.
- Downstairs/receiver side: a suspended ceiling on resilient channels or clips.
These won’t make the apartment silent, but they noticeably soften footfalls and dull thuds.
Ventilation & Equipment: Don’t Let Sound Travel the Ducts
Both airflow and machines generate noise. What helps:
- Moderate air velocities in ducts.
- Silencers and duct linings inside the runs.
- Flexible connectors between the unit and ductwork.
- Vibration isolators under equipment.
Together, they cut “whistle” and keep vibrations out of the structure.
Sound’s “Back Roads”
Even after beefing up a wall, sound can detour via adjoining elements: shared floor layers, unsealed control joints, back-to-back outlets, gaps under baseboards, voids above drop ceilings. The plan: separate electrical boxes, seal penetrations, break the continuous floor at partitions, and run acoustic sealant along perimeters.
Yard & Street: When Barriers Earn Their Keep
Near a busy road, a noise barrier or earth berm helps. Height, no gaps, and smart placement relative to the source are crucial. It’s a job for the property/management side, but the facade benefit is real.
How to Know It’s Working
Take control measurements after each stage. Lab accuracy isn’t required: a smartphone with an external mic is enough. Keep conditions consistent — same spot, same time of day, similar outside background — to see the real contribution of each step and decide what to keep doing and when comfort is “good enough.”
Keep Expectations Real
“Acoustic curtains,” foam tiles, and similar products are great for taming room echo, but they don’t isolate you from neighbors or the street. The proven rules for isolation don’t change: add mass, avoid rigid connections, damp vibrations, and seal carefully.
Bottom line: quiet is built from small, deliberate moves. Close the gaps and the room calms down. Upgrade doors and windows and the street fades. Add decoupling and damping and voices beyond the wall drop a notch. Step by step, you can bring the acoustic climate to a comfortable level without waste or guesswork.
