https://boda.su/en/posts/id10-how-to-iron-clothes-temperatures-order-pro-tips
How to Iron Clothes: Temperatures, Order & Pro Tips
Ironing Guide: Fabric Heat Settings, Sequence & Care
How to Iron Clothes: Temperatures, Order & Pro Tips
Master ironing with clear steps: set up the board, pick the right heat for cotton, linen, wool, silk and synthetics, then press shirts, trousers and dresses.
2025-08-20T12:29:13+03:00
2025-08-20T12:29:13+03:00
2025-08-20T12:33:29+03:00
Wrinkle-resistant fabrics and handheld steamers haven’t made the iron obsolete. The skill still earns its keep at home, on the road, and in professional moments — from a crisp shirt before a meeting to smart trousers for a formal event. Below are straightforward, time-tested tips that make pressing easier and help your clothes stay in shape.
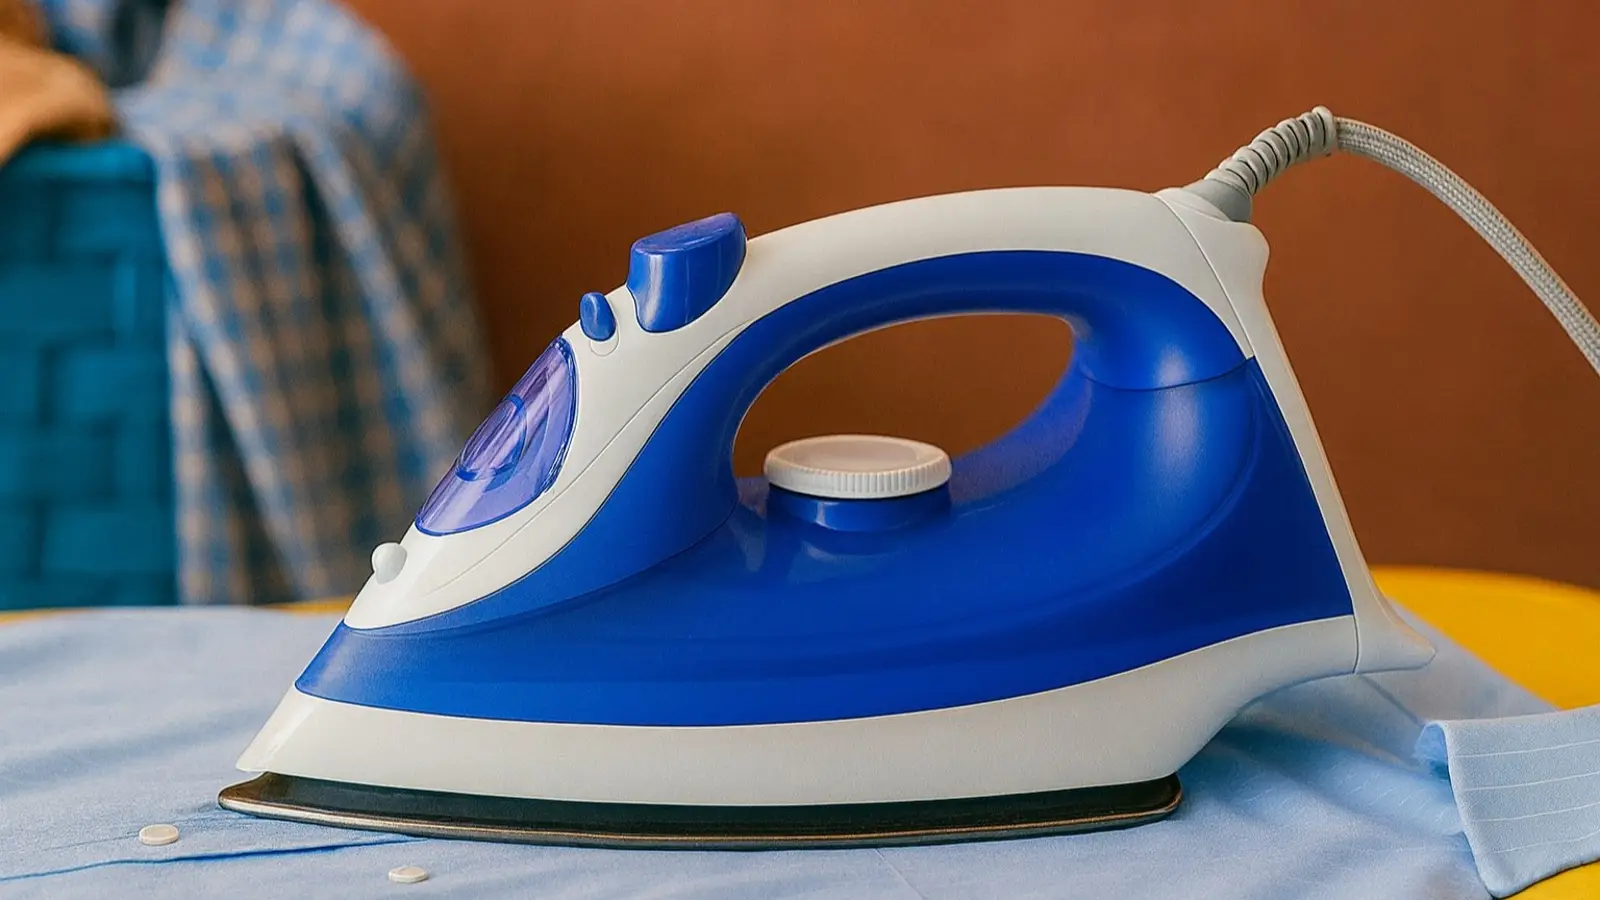
Set up your station
Start with the right surface. An ironing board with a sturdy frame and a firm, not overly thick cover gives you the control you need; the top shouldn’t be slippery or fabric will fight you.
Before you switch on the iron, check the soleplate. It should be free of burned-on residue or melted fibers. Fill the tank with filtered water — or at least water that’s been left to settle — to reduce limescale that can mark garments.
Sort items by fabric. That makes temperature choices simple. Begin with synthetics: they use the lowest heat, and the iron can continue to warm as you move to sturdier weaves.
Heat settings and fabric care
Care labels are your roadmap. Fabrics don’t react to heat the same way, so match the setting to the material.
Synthetics and silk: Press at up to 130 °C. Work from the wrong side or use a pressing cloth to shield the surface.
Wool: Avoid direct contact with a hot soleplate, especially when the fabric is dry. Lightly dampen the area and press through a cotton cloth.
Cotton and linen: These tolerate more heat — 180–220 °C. A light mist from a spray bottle helps the fibers relax. These fabrics smooth out readily and hold their shape longer after pressing.
Order of operations
Different garments reward a specific sequence.
Shirts: Start with the collar — inside first, then outside. Move to cuffs, sleeves, and finish with the fronts and back.
Trousers: Begin inside-out to flatten seams and pockets. Then fold along the creases and press the outer side through a damp cloth.
Dresses and skirts: Work from top to bottom. Take your time with pleats and gathers. Don’t leave the iron parked in one spot for more than a few seconds.
A few extra pointers
Keep an eye on moisture: fabric shouldn’t stay damp. When you’re done, hang the garment and let it cool completely so the shape sets; fold or shelve it too soon and creases can return.
Skip the iron on stains — heat can fix them in place. And avoid soft surfaces like a bed; instead of smoothing wrinkles, they lock them in.
Ironing doesn’t demand special tricks, just care and attention. Choose the right temperature, follow a sensible sequence, and handle the iron deliberately — your clothes will look sharper and last longer.
Ironing, How to iron clothes, Fabric temperature settings, Ironing board setup, Synthetics, Silk, Wool, Cotton, Linen, Shirts, Trousers, Dresses, Pressing cloth, Pleats, Garment care
2025
articles
Ironing Guide: Fabric Heat Settings, Sequence & Care
Master ironing with clear steps: set up the board, pick the right heat for cotton, linen, wool, silk and synthetics, then press shirts, trousers and dresses.
Generated by Dall-e
Wrinkle-resistant fabrics and handheld steamers haven’t made the iron obsolete. The skill still earns its keep at home, on the road, and in professional moments — from a crisp shirt before a meeting to smart trousers for a formal event. Below are straightforward, time-tested tips that make pressing easier and help your clothes stay in shape.
Set up your station
Start with the right surface. An ironing board with a sturdy frame and a firm, not overly thick cover gives you the control you need; the top shouldn’t be slippery or fabric will fight you.
Before you switch on the iron, check the soleplate. It should be free of burned-on residue or melted fibers. Fill the tank with filtered water — or at least water that’s been left to settle — to reduce limescale that can mark garments.
Sort items by fabric. That makes temperature choices simple. Begin with synthetics: they use the lowest heat, and the iron can continue to warm as you move to sturdier weaves.
Heat settings and fabric care
Care labels are your roadmap. Fabrics don’t react to heat the same way, so match the setting to the material.
- Synthetics and silk: Press at up to 130 °C. Work from the wrong side or use a pressing cloth to shield the surface.
- Wool: Avoid direct contact with a hot soleplate, especially when the fabric is dry. Lightly dampen the area and press through a cotton cloth.
- Cotton and linen: These tolerate more heat — 180–220 °C. A light mist from a spray bottle helps the fibers relax. These fabrics smooth out readily and hold their shape longer after pressing.
Order of operations
Different garments reward a specific sequence.
- Shirts: Start with the collar — inside first, then outside. Move to cuffs, sleeves, and finish with the fronts and back.
- Trousers: Begin inside-out to flatten seams and pockets. Then fold along the creases and press the outer side through a damp cloth.
- Dresses and skirts: Work from top to bottom. Take your time with pleats and gathers. Don’t leave the iron parked in one spot for more than a few seconds.
A few extra pointers
Keep an eye on moisture: fabric shouldn’t stay damp. When you’re done, hang the garment and let it cool completely so the shape sets; fold or shelve it too soon and creases can return.
Skip the iron on stains — heat can fix them in place. And avoid soft surfaces like a bed; instead of smoothing wrinkles, they lock them in.
Ironing doesn’t demand special tricks, just care and attention. Choose the right temperature, follow a sensible sequence, and handle the iron deliberately — your clothes will look sharper and last longer.